Planon Extension - Web Service Request Worker
Introduction
The application initializes a HTTP client and a HTTP request, build and execute the request. Finally, it writes the response body in to a file.
The settings for the headers, the url, the method along with the file paths for the request and response files are specified by the user.
Prerequisites
Environment
This solution will be designed to work with Planon Live L121 and above.
Constraints
N/A
Required (free)fields
N/A
Assumptions
N/A
Features
This chapter describes the features that this app contains.
Call HTTP based Web Services
Get Request header and body:
The request headers are specified in the app setting, in the form of <key>:<value>, separated by lines.
For example if you want to perform a SOAP request:
Content-Type:text/xml; charset=utf-8
SOAPAction:“urn:Afas.Profit.Services/GetData”
- The request body is of XML format, which is read from a file with a specified path in the setting.
Initialize HTTP Client and Request Builder:
Depends on whether the proxy host is empty, it will initialize a connection with the proxy host and port, adding authentication with proxy user name and password is needed. The authentication is also specified in the setting.
The request has a timeout of 30 seconds.
Support proxy host
Send the request and get the response:
The default encoding is UTF-8
The response returned is parsed as a DTO, consists of status code, body and the headers.
Write the body response to file:
- The application writes the response body to a file path specified in the setting, as “responseFile”, the encoding is UTF-8
How does it work
This chapter contains the functional and technical description (if applicable) of the features as described in chapter 3.
The app is used in combination with enterprise talk. The app comes with an enterprise talk worker with settings and has to be configured with enterprise talk definition.
When the enterprise talk definition is run, the worker calls the endpoint based on the configuration on the worker and receives the response.
The response is then stored in the configured response file which can be used in the further steps of the enterprise talk definition.
The settings of the app are described in futher sections.
Installation
This chapter describes the steps required to install this app on your Planon environment.
Installation Process
There are two ways to install the app:
- Using the Marketplace
- Manual installation
Install the app by using the marketplace
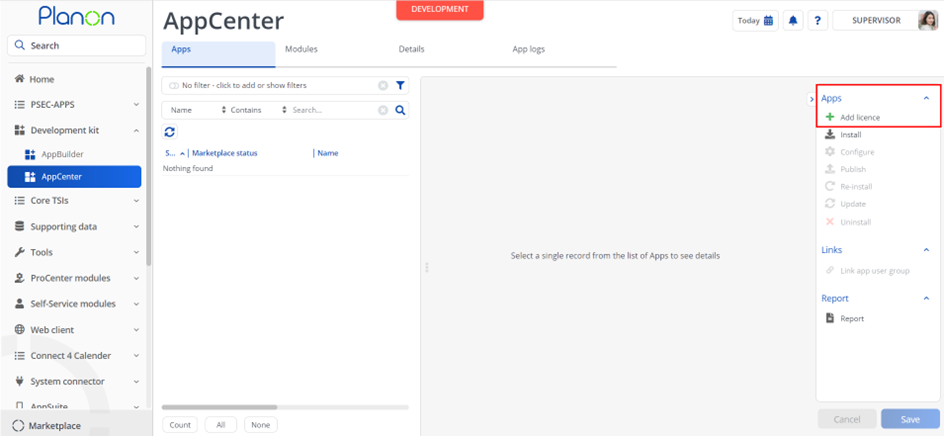
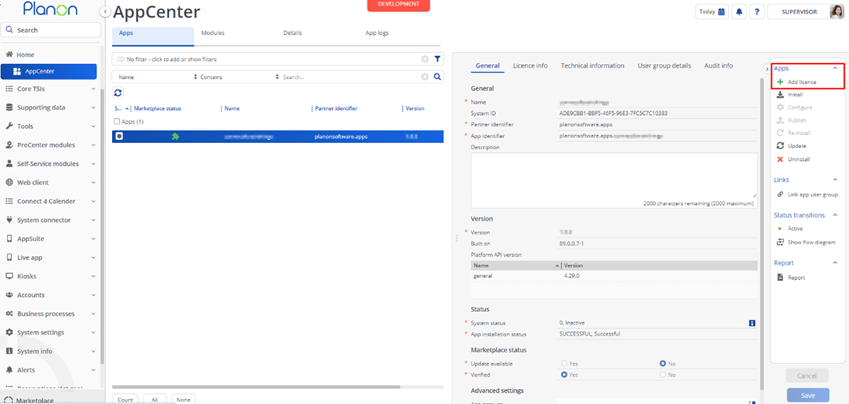
In case your environment is configured to use the Planon app store the only thing required to install the app is to add the app license in the AppCenter TSI. Planon will automatically download and install the app.
Manual installation
In case you want to perform a manual installation follow the steps below.
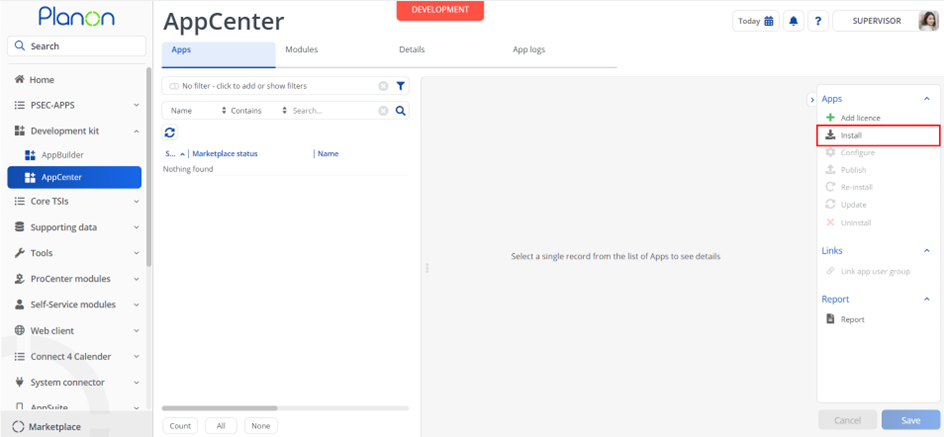
- Open AppCenter TSI from Planon webclient and click on install from action menu
- Browse to the .ppk file
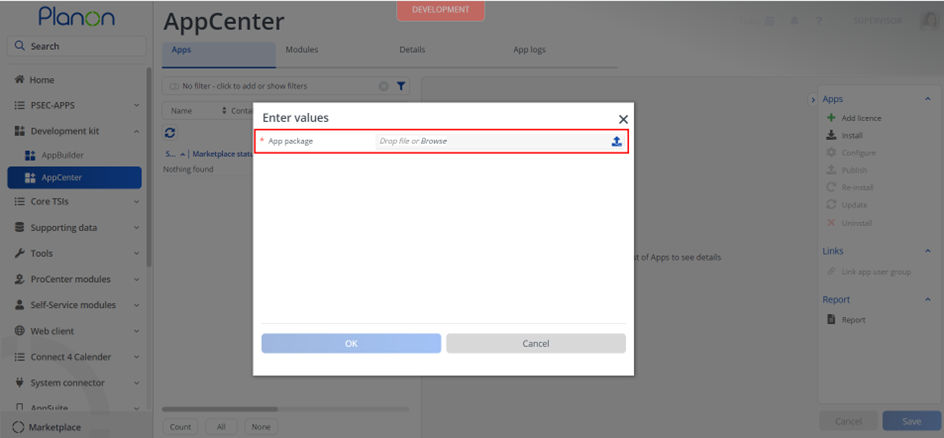
- Click OK to install the app and follow the installation process
- When the app is successfully installed, the app will appear in the AppCenter
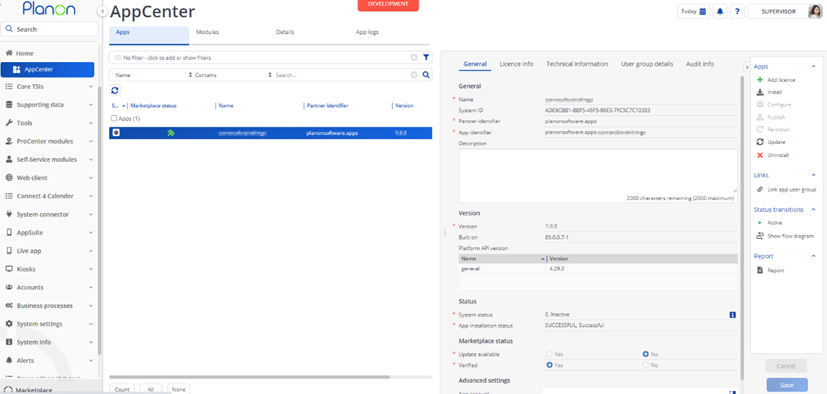
- Add the app license in Apps TSI
Activation
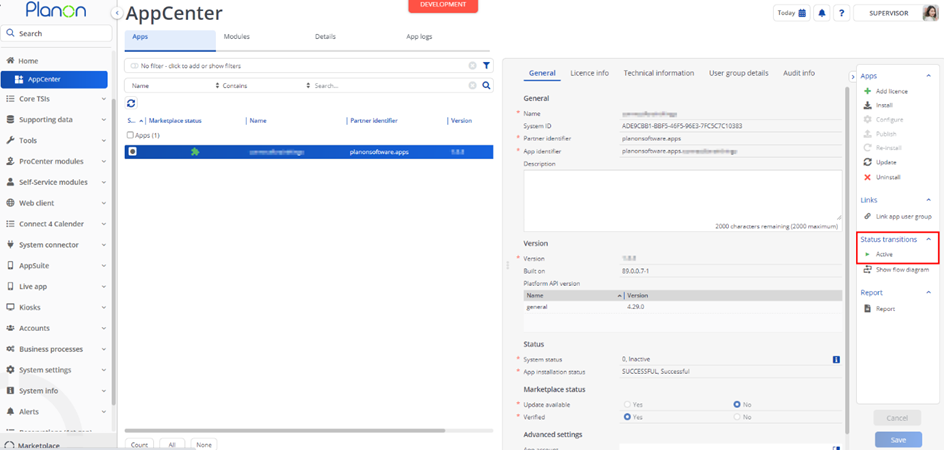
Once the app has been configured, you can activate the app by pressing the Active status transition from the action panel. Always make sure that the required User groups are linked correctly and the Configure action is executed before activating the App.
Planon Configuration
Now that the app is installed and activated we can add a worker instance in an import-export document. This is done in the TSI ‘Enterprise Talk’:
Select or create a definition, make sure ‘use platform workers’ is set to yes
Drilldown to ‘Documents’ and select or create a document
Drilldown to ‘Business Object Definitions’, ‘Import-export worker’
Click add in the action panel
You can now add a new worker instance of ‘planonsoftware.apps.webserviceworkers.HTTPRequestWorker’.
Configure the settings as described below which can be found in the ‘Setting tab’
Description of settings
| Setting | Explanation |
|---|---|
| encoding | Encoding of the response data. |
| httpMethod | The method used to send the request (POST or GET). |
| requestURL | Endpoint to be called. |
| skipOnEmptyRequest | Whether to skip worker execution when request body is empty. |
| stopProcessOnError | Whether to stop worker execution on error. |
| proxyHost | Hostname of the proxy server, not mandatory. |
| proxyPort | Port number the proxy server is listening to. Only required when proxyHost is provided. |
| proxyUsername | Username to authenticate to proxy server (optional). |
| proxyPassword | Password to authenticate to proxy server (optional). |
| responseFile | File path for the response file. This should be a XML file. |
| requestBodyFile | File path for the request file. This should be a XML file, the content of this file is used as the request body. |
| requestHeaders | Headers used for the request. The format is key:value. Use new lines to provide multiple headers. |
| userName | Username to authenticate on the service when you want to use basic authentication. This is not mandatory if for example xyz is used. |
| password | Password to authenticate on the service when you want to use basic authentication. |
| sslTrustStoreFile | Path to the SSL truststore file when you want to use communication based on SSL/TLS. |
| sslTrustStorePassword | Password to open the SSL truststore file. |
| sslKeyStoreFile | Path to the SSL keystore file when you want to use communication based on SSL/TLS. |
| sslKeyStorePassword | Password to open the SSL keystore file. |
| addRequestBodyToResponseFile | When this is set to ‘Yes’ the request body will be added to the exported response file. |
| convertResponseToXML | When this is set to ‘Yes’ the received response is converted to XML. This is only applicable when you are calling a webservice that returns JSON. |
Troubleshooting
Error handling
- Errors are recorded in the server logs:
- Tomcat log for web components
- Webpages
- PSS modules
- Stepview
- TSI Action
- JAX-RS webservices
- Wildfly log for server-side components
- Business rules
- Scheduled tasks
- Workers
- Event Connector
- Tomcat log for web components
- UI components (TSI Actions) also display errors in the interface